Yesterday was a total blur of information overload. I can't recall much, which is a bit worrying...Anyway, we did some weight-painting yesterday, which turned out to be a bit moot later on when we discovered that we had to do some "blend shapes" which pretty much requires a total detachment of the skin from the joints (I could be wrong?). In any case, the weight painting I did yesterday is GONE, which means I'll have to redo that after I'm done with the blend shapes, but still, UGHHSDJKFHSKDJFHSKDHFKJSDHFJKSDHF.
Practice, practice, PRACTICE. (I don't wike it.)
But you gotta do what you gotta do.
How do I explain blend shapes? To be honest, I haven't got the slightest clue how to go about that! I can, more or less, understand the concept of it and actually do it on my own models but to actually go into the reasoning of HOW and WHY...well, you won't find too much of that here...
What I CAN do, however, is go through the steps in hopes that it'll drill into my brain so I can do it again on a different model if need be...
...
Such torture...
...
OKAY! Blend shapes. I went back to a previously saved increment and managed to find one where the mesh and the joints weren't connected together yet and did a copy of the body geo.
 |
| Blend Shapes!! |
 |
| Master Controls! |
 |
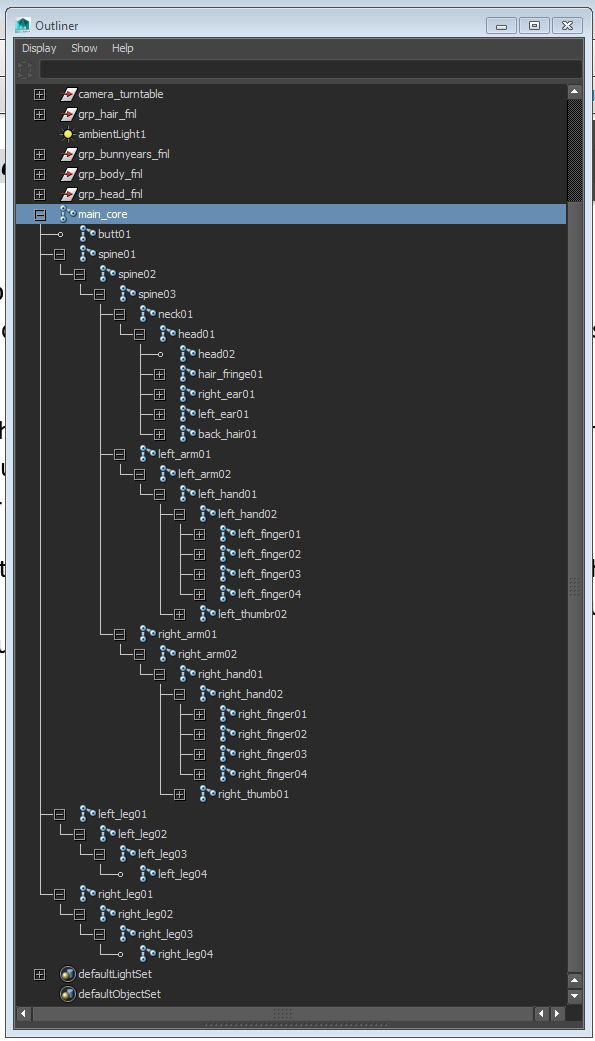
| Outliner Galore... |
(So, please, don't let me be wrong...)
Stay tuned for the next epic fail.